Microsoft Dynamics 365 Finance and Operations (D365 F&O) provides robust reporting capabilities through SQL Server Reporting Services (SSRS) reports. SSRS reports in D365 F&O can be customized to meet specific business requirements, allowing organizations to tailor their reports to display relevant information. In this article, we’ll explore the process of customizing a D365 F&O SSRS report using the Sales Packing Slip report as an example.
Understanding SSRS Reports in D365 F&O
SSRS reports in D365 F&O are generated using a combination of data stored in temporary tables (tmp tables) and report designs created in Visual Studio. These reports play a crucial role in providing insights into various aspects of business operations, and customization allows organizations to adapt these reports to their unique needs.
Steps to Customize a D365 F&O SSRS Report
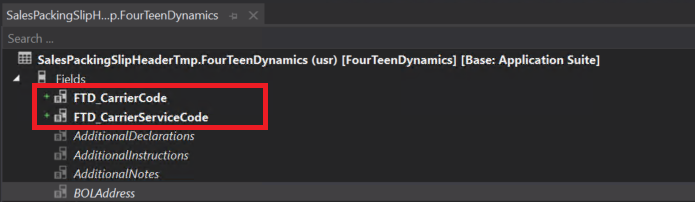
1. Add a New Field to the tmp Table
To begin the customization process, start by identifying the tmp table associated with the Sales Packing Slip report. Add a new field to this table to store the additional data you want to include in the report. In our example one of tmp tables of Sales packing slip report that we will use to save our data is SalesPackingSlipHeaderTmp. Let’s create an extension of this table and add the new fields.
2. Populate the New Fields on the tmp Table
Create an extension of Report Data Provider class associated with the Sales Packing Slip report (SalesPackingSlipDP) to populate the newly added fields on the tmp table. This step ensures that the required data is available for the customized report.
[ExtensionOf(classStr(SalesPackingSlipDP))]
public final class FTD_SalesPackingSlipDP_Extension
{
    protected SalesPackingSlipHeaderTmp initializeSalesPackingSlipHeader()
    {
        SalesPackingSlipHeaderTmp salesPackingSlipHeaderTmp = next initializeSalesPackingSlipHeader();

        TMSSalesTable tmsSalesTable = TMSSalesTable::find(this.parmCustPackingSlipJour().SalesId);

        salesPackingSlipHeaderTmp.FTD_CarrierCode = tmsSalesTable.CarrierCode;
        salesPackingSlipHeaderTmp.FTD_CarrierServiceCode = tmsSalesTable.CarrierServiceCode;

        return salesPackingSlipHeaderTmp;
    }

}
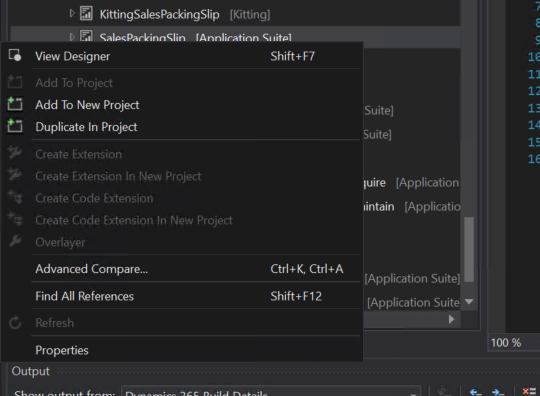
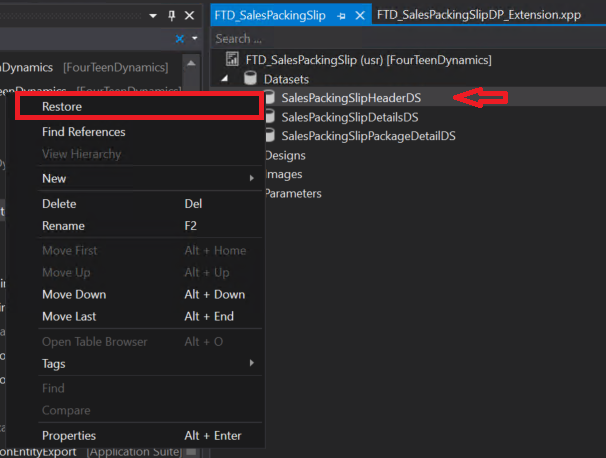
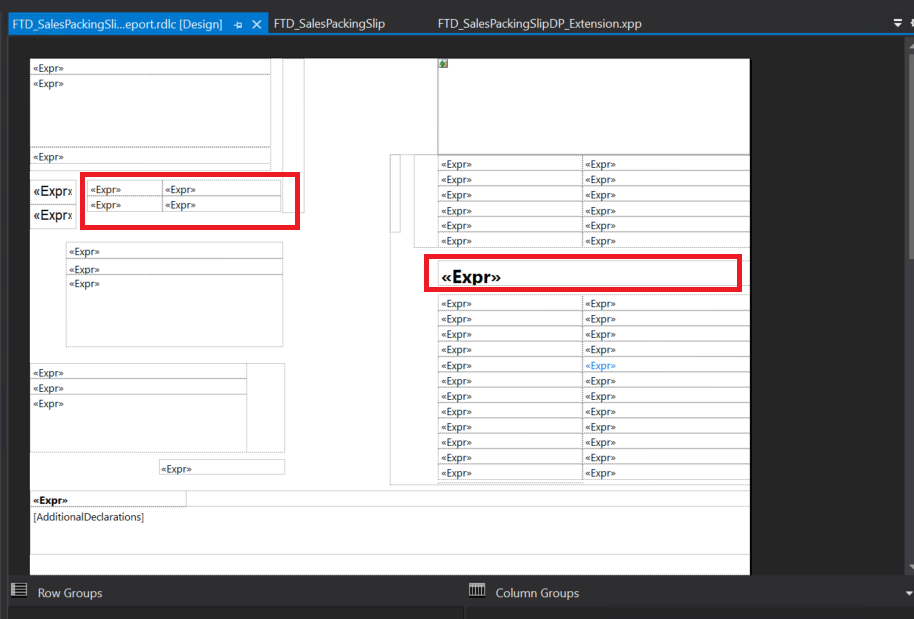
3. Duplicate and Modify the Report Design
Duplicate the existing Sales Packing Slip report in Visual Studio. Rename the duplicated report and restore the datasets of the report. In this way we are adding the new fields from the tmp table on the dataset. Now let’s modify the report design based on the business requirements. Add the new field to the report layout and adjust the design elements as needed.
4. Extend the Controller Class
Extend the controller class (SalesPackingSlipController) associated with the Sales Packing Slip report. This extension will include the logic necessary to setup the new report as default.
public class FTD_SalesPackingSlipController extends SalesPackingSlipController
{
    public static void main(Args _args)
    {
        SrsPrintMgmtFormLetterController  controller = new FTD_SalesPackingSlipController();

        controller.parmReportName(PrintMgmtDocType::construct(PrintMgmtDocumentType::SalesOrderPackingSlip).getDefaultReportFormat());
        controller.parmArgs(_args);
        controller.parmShowDialog(false);
        controller.startOperation();
    }

}
5. Create a New Event Handler Class
Create a new event handler class and add a delegate handler method. This method will be responsible for using the custom report instead of the standard report. This step ensures that the system triggers the customized logic when generating the sales packing slip report.
(Print management setting needs to be updated with the new report as well – Step7)
public class FTD_PrintMgtDocTypeHandler
{
    [SubscribesTo(classstr(PrintMgmtDocType), delegatestr(PrintMgmtDocType, getDefaultReportFormatDelegate))]
    public static void getDefaultReportFormatDelegate(PrintMgmtDocumentType _docType, EventHandlerResult _result)
    {

        switch (_docType)
        {

            case PrintMgmtDocumentType::SalesOrderPackingSlip:
                _result.result(ssrsReportStr(FTD_SalesPackingSlip, Report));
                break;
        }
    }

}
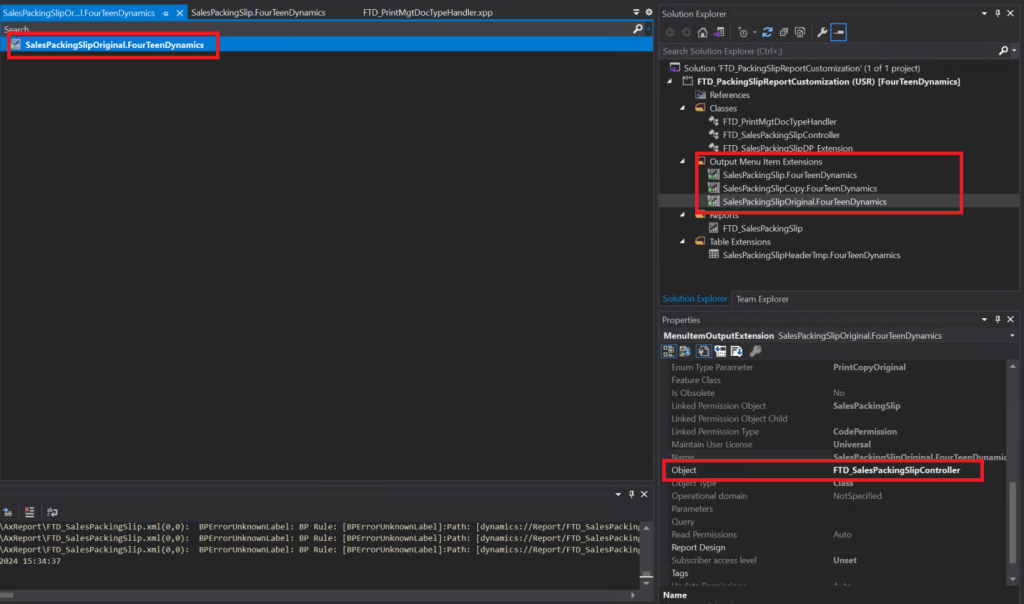
6. Create an Extension for the Existing Menu Item
Extend the existing menu item associated with the Sales Packing Slip report. Modify the Object property value to point to the new(extended) controller class. In our example we have 3 menu items which are associated with the Sales Packing Slip report. Let’s extend and modify those, one by one:
After all 6 steps above are completed, build the solution, deploy the report and sync the database.
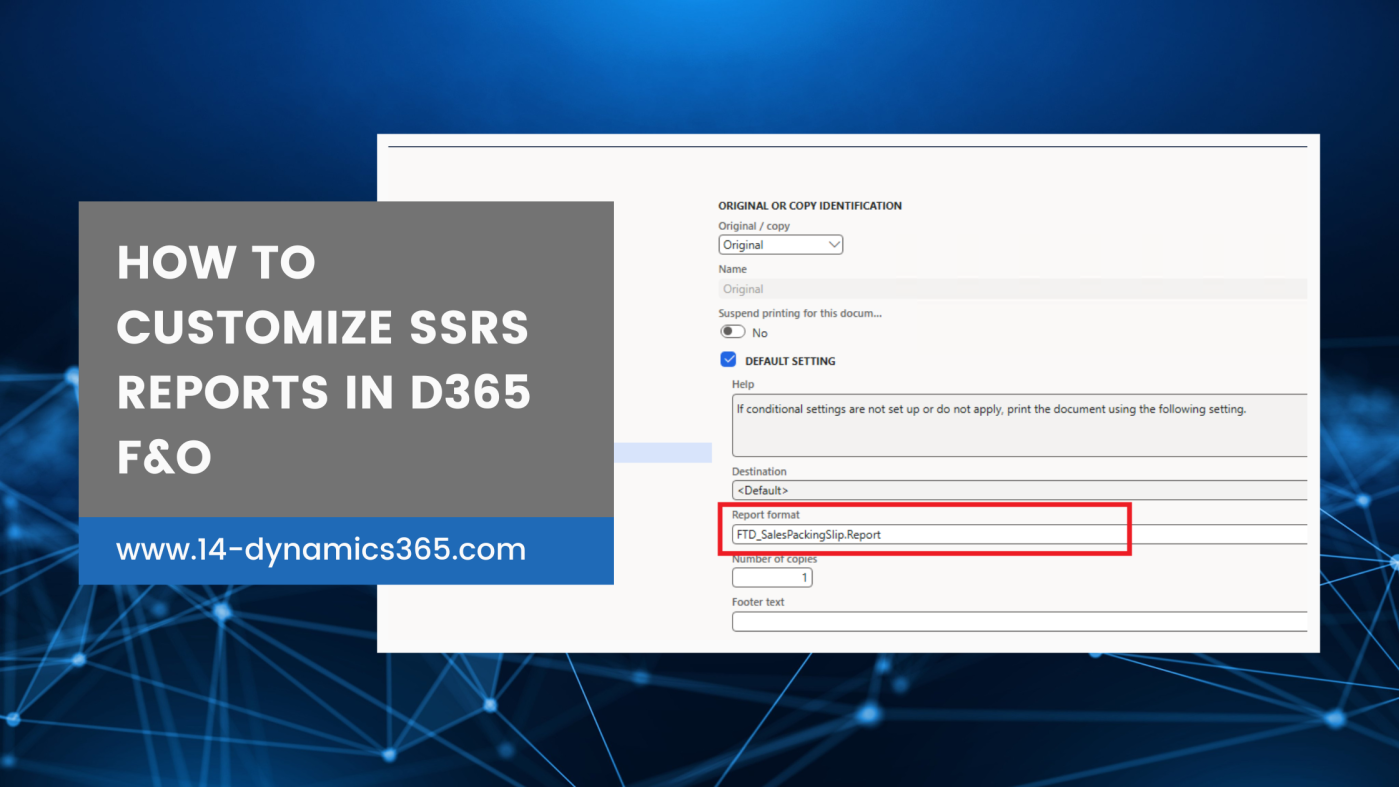
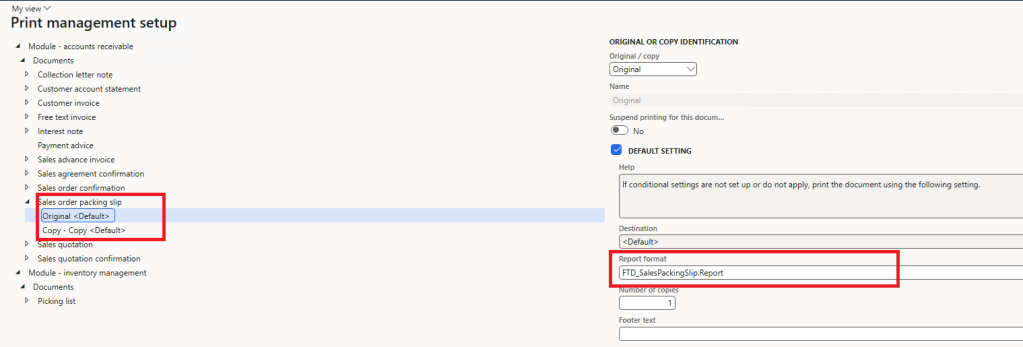
7. Update Print Management Settings
Navigate to the Print Management settings and update them to use the custom report. This ensures that when the Sales packing slip report is generated from various areas within D365 F&O, it uses the customized version. Here is the path where you can find the print management settings for Sales Packing Slip report: Account receivable>Setup>Form>Form Setup>Print Management
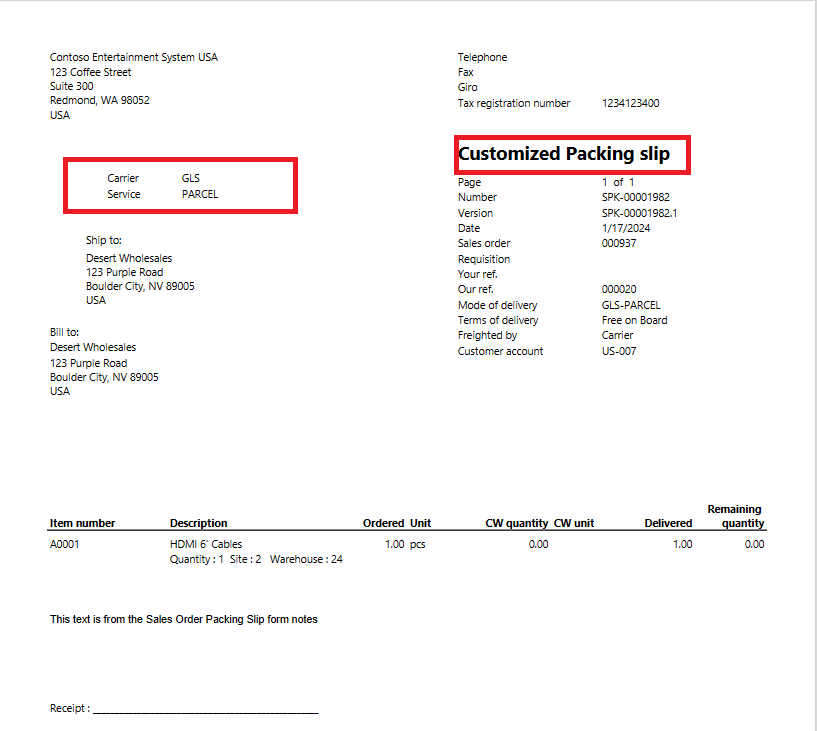
8. Run the Report and Verify Changes
Finally, run the Sales Packing Slip report and verify if the changes are reflected as expected. Ensure that the new field is populated with the desired data, and the report layout aligns with the customized design.
By following these steps, organizations can effectively customize SSRS reports in D365 F&O, tailoring them to their specific business needs. This flexibility enhances the reporting capabilities of the system, providing users with accurate and relevant insights into their operations.
Why Changes May Not Reflect in the Printed Report
It’s crucial to note that sometimes changes may not immediately reflect in the printed report. This could be due to various reasons, such as caching issues, metadata synchronization delays, or errors in the customization code.
In case that changes are not reflected make sure to follow the steps below:
- Check for errors in the development processes.
- Reset the usage data.
- Restart the SQL Server Reporting services.
- Clear the caches.

Leave a comment